-
Dri-lay Drives
Dry – Lay Drives
We developed ‘Designer Drives’ almost 30 years ago..
How it all started..
My partners and I had worked for a London Parks Department. On some of the projects we were working on, we needed to use a strong paving material. At the time Marshalls( one of our suppliers) were testing a product called ‘Monolok’. It had been developed in Europe for use at bus stops. To prevent the heavy buses sinking into the tarmac, on hot days. These ‘monolok’ blocks were of differing sizes and worse ‘z’ shaped. This made them a nightmare to design with.
They were though, a really clever idea. They interlocked together, without using mortar, this effectively meant they stayed in position, didn’t crack or sink, but could be ‘unzipped’ and then relayed – if say a pipe needed working on below.
One day our sales contact rushed in with some new ‘brick-shaped’ grey blocks. He told us red would also be available soon. Did we want to try them? We immediately saw an opportunity. Using traditional bricks with a mortar bed required a heavy-duty brick version, worse it took days to point … see below.

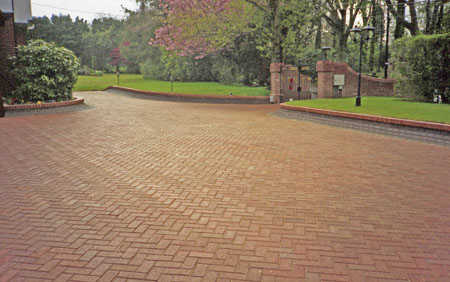
This particular in and out brick driveway took 10 man-days just to point the bricks. Whereas the drive below took 4 hours to ‘sand in’ with kiln-dried silica sand.

Saving so much time, significantly increasing our profits on each project. We were soon demanding new, more interesting colours.. here’s one using a brindle colour mix..
New methods.

It didn’t take us long to refine our own techniques. Adding our own recessed manhole covers. Canting the edges so homeowners knew where they were as they drove around their driveway. – The slightly raised edge looked great visually as well. Setting us apart from our competition.

Here a well constructed and cut in recessed cover… this time using a softer stock brick.

When well done it’s very hard to see the recessed cover, as in this picture.. there are two in the lower picture!

New layout pattern
We soon added a ‘fish- scale’ pattern using granite setts. Then a phorphery sett to our ‘Designer’ collection..
Here’s some granite…much more expensive but they look superb !

When using ‘natural’ products. Such as the granite and real bricks it is important to remember that they are often differing sizes. This means that it is very easy to lose the design module. If you have too big an area its important to have adequate changes in direction.
The stock bricks below work for about a length of 1.8m ( 6ft). Then you need to add a break line or the pattern will start to wander off.

Below is a combination of natural granite setts and softer stock bricks – my favorite by far!
Would you like to read more Landscape projects ? – More Award winning projects
We would love to hear your thoughts and comments
Views: 854
-
Green Roof
Green Roofs

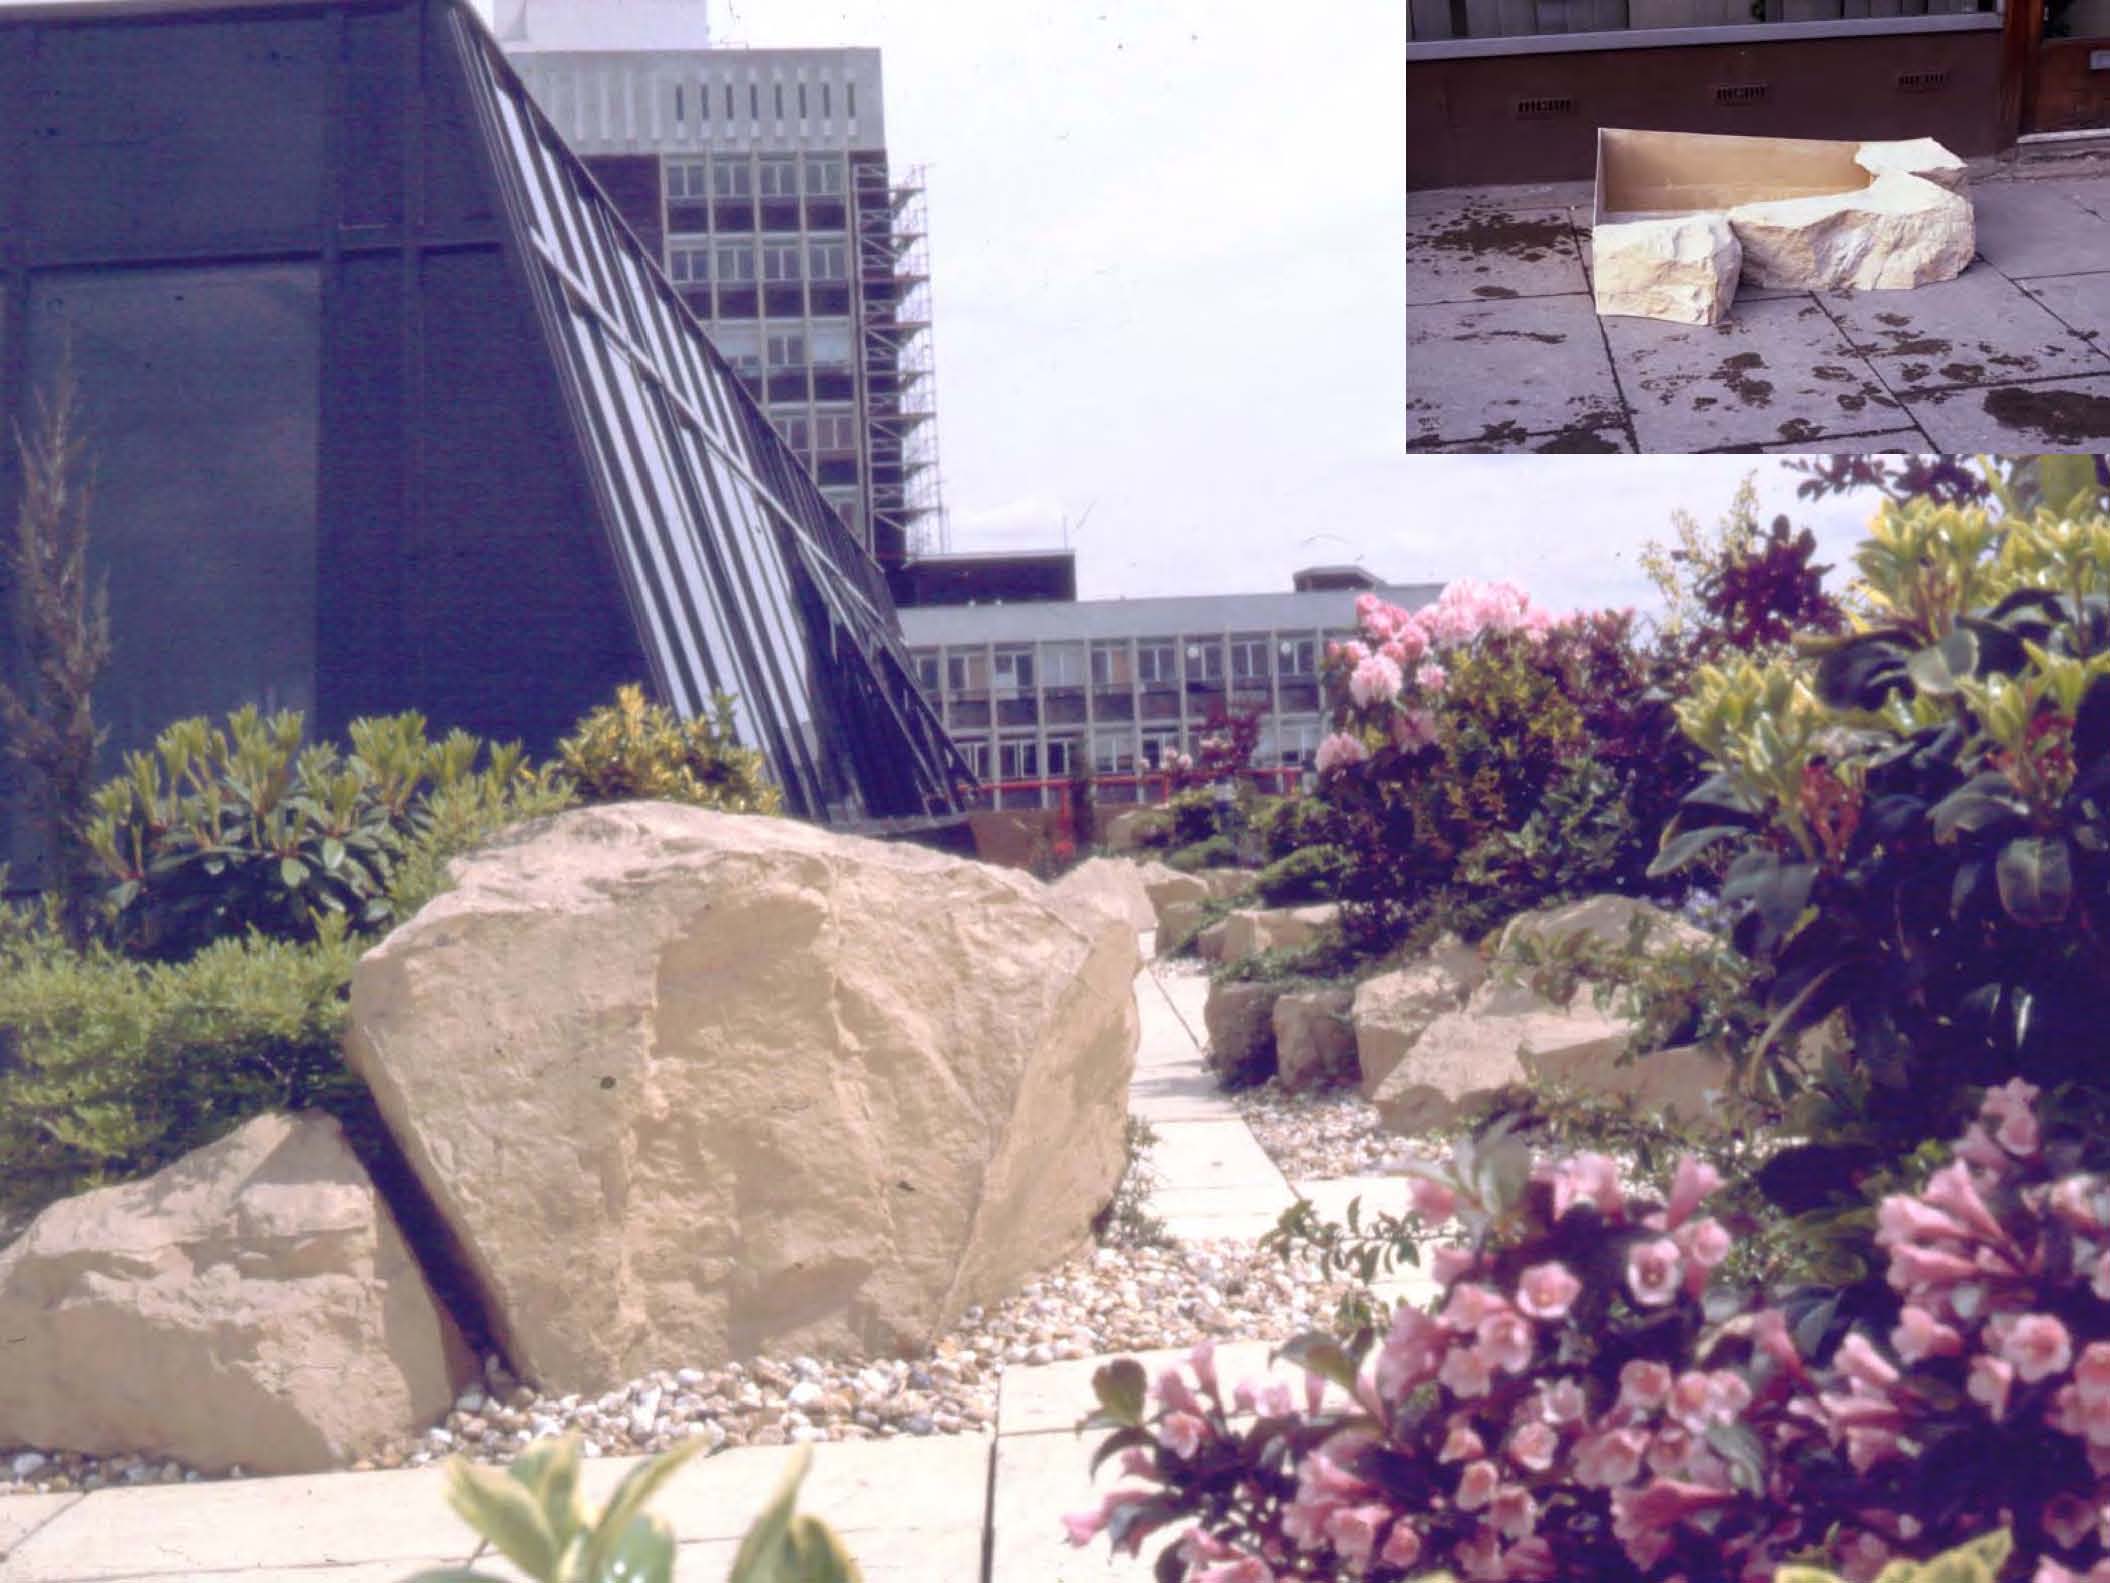
We soon discovered that the modular layout of the green walls worked superbly for Green roofs.
So in 1994 we designed and built this award winning Green Roof in central London.

Wooden pathway on Roof Garden Views: 337
You May Also Like
Some unusual moments – while designing & constructing landscape projects
-
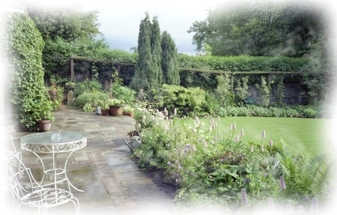
A winding garden path
A Winding Garden Path
 Pergola and Well features
We added these lovely features to an executive’s garden that was designed and built a number of years ago.
They were part of a ‘Wish List’ we established with the client as we developed the masterplan.
Planning really is the secret to a successful outcome for your project too. So here are a few pointers to help you.
The Wish List.
The secret to a beautiful landscape project is the wish list – here is a typical one we have developed over the years.
Brief description of what you are looking for :
………………………………………………………………………
………………………………………………………………………
……………………………………………………………………….
………………………………………………………………………
………………………………………………………..How you use your garden :
Do you have animals ? : Yes / No.
Do children play in the garden ? : Yes / No.
Do you like gardening ? : Yes / No.
Do you like cutting grass ? : Yes / No
Do you entertain in the garden ? : Yes / No.
Do you like relaxing in the garden ?Yes/ No.
What sort of Budget you would like us to Design
to : ……………………………………………………
(It helps enormously if we can have a figure to
work to, we should be able to produce a Design
within 10 percent )Some items to consider :
Lawns. Yes / NoShrubberies Yes / No.
Rockeries Yes / No
Ponds Yes / No.
Streams Yes / No
Fish / Koi Ponds Yes / No.
Paths Yes / No
Patios Yes / No.
Terraces Yes / No.
Walls Yes / No.
Ground contouring Yes / No
Vegetable gardens Yes / No.
Garden Features :
Garden Shed : Yes / No.
Power & Lighting Yes / No.
Irrigation Yes / No.
Summerhouses Yes / No.
Greenhouses Yes / No
Gazebo’s Yes / No.
Pergolas Yes / No
Seating Yes / No.
Please add any other comments on the back of this sheet, the more we know the better the design.
I would recommend that this is something the homeowners complete themselves without a salesmen/designer being present. You would be amazed at how many couples have different ideas!
Remember to keep a little of the budget back as these things always cost more than you expect.
Once you have a wish list, start to gather examples of the features you like from magazines. Taking pictures etc. Pretty soon you will have a good idea of what you would ideally like.
Now it’s time to have that chat with the Designer or put pen to paper yourselves..
Views: 333
You May Also Like
Where do you find inspiration….
Suffering from Allergies?
It’s all in the detail !
-
A natural stone patio and entertaining area
Patios & Terraces

A Brick and Stone Terrace
A lovely natural stone and brick patio, surrounding a conservatory.
Today, I thought it would be fun to show you a series of before, during and after pictures of a patio/terrace construction.
Mick and Steve who constructed this lovely terrace. Are extremely skilled craftsmen.
If you look carefully at the stone cutting you will see how ‘evenly spaced’ all the joints are .
Base Foundation.
It all starts with good preparation on a stable foundation. In this case around 100mm ( 4 inch) of graded limestone base well consolidated.
If the ground is moist or subject to shrinkage it’s a good idea to add a geo – fabric beneath the limestone.
Surface.
You should make sure the finished height of the paving, is at least 150mm ( 6 inches) below the damp proof course set in the house brick walls.
It is also a very good idea to create a fall away from the house to your drains, ( at least a 1 in 80 fall is required).
Also, consider the need for allowing moisture around the house.
If you are on heavy clay, it is a good practice to allow the clay sub surface to remain a little damp during the summer to prevent the ground ‘heaving’.

First the walls and steps are constructed. 
Note how clean the working area is. 
Here Mick is carefully, pointing the natural stone, using a semi dry mixture of soft sand/sharp sand/ cement. Make sure the conditions are dry. Then firmly point between the paving joints. 
Raised brick seating area 
The completed terrace, with low walls to enable larger groupings , for entertaining. The gently curved wall naturally leads the eye around the establishing garden Views: 155
You May Also Like
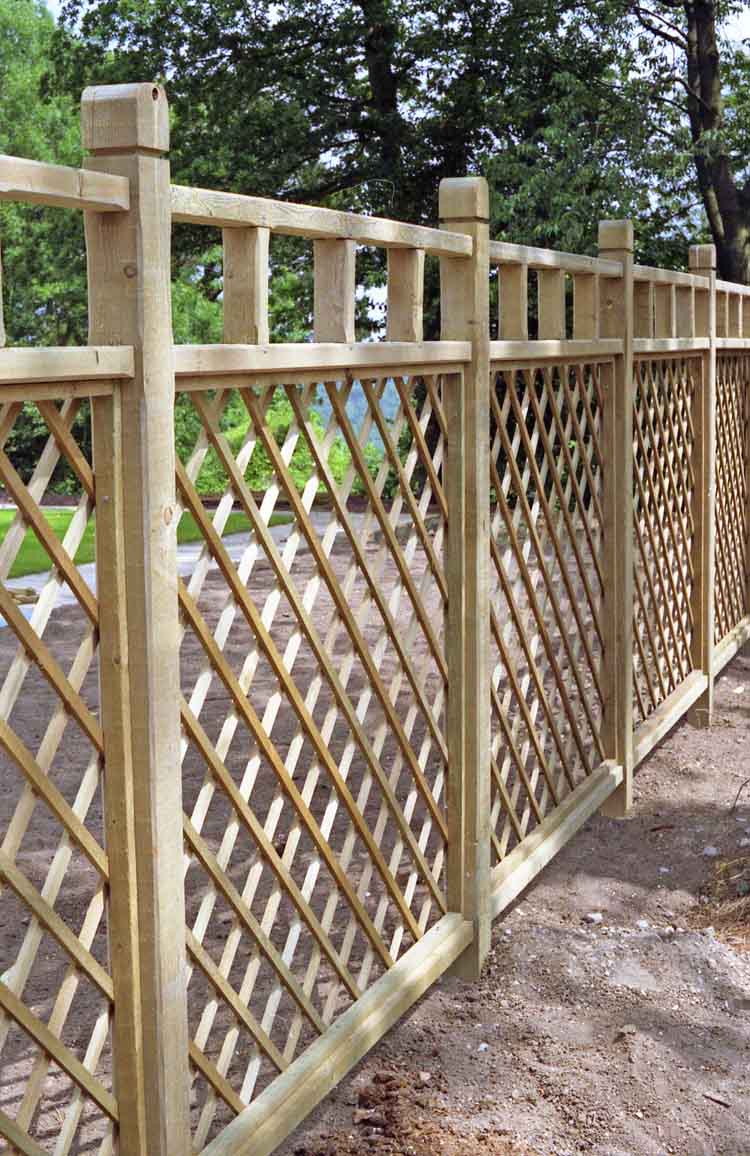
Creating mystery & intrigue with Timber Walls, Fences & Trelliage
-
Paths in your Garden
Paths have been around awhile.

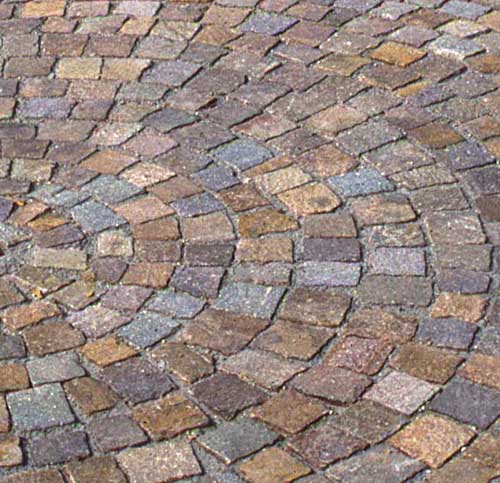
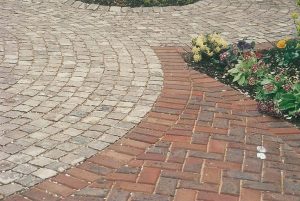
Granite sett path – these setts traveled from Portugal in the 1800’s as ships ballast and were then used on London’s streets.
They were a very convenient group of sizes namely ;-
- 4 inch x 4 inch x 4 inch
- 4 inch x 4 inch x 6 inch
- 4 inch x 4 inch x 8 inch
These regular sizes enable a module to be used, which makes the overall finished visual much more attractive. It’s also easier to lay – below you see a radius layout using just 4 inch x 4inch x 4inch setts.
Seeing as we have snow today, I thought it might be an idea to talk a little about paths and paving materials. Not all paving is equal as they say, concrete for instance is often more slippery than say asphalt ( there is a standard called CBR – California Bearing Ratio, this is basically a coefficient of slipperiness. Often only used for roadways and cars.)
So lets take a look at some paths

This gravel path works great, except when frost is just coming out of the surface, when it gets very sticky. Gravel paths are both attractive, economical and if laid on a suitable base long lasting, a simple rake and roll often restores the path to its near original state. Keeping on top of surface weed growth is essential.

Paths should be at least 5ft wide to allow a couple to walk side by side..although,in a garden this is often impractical.
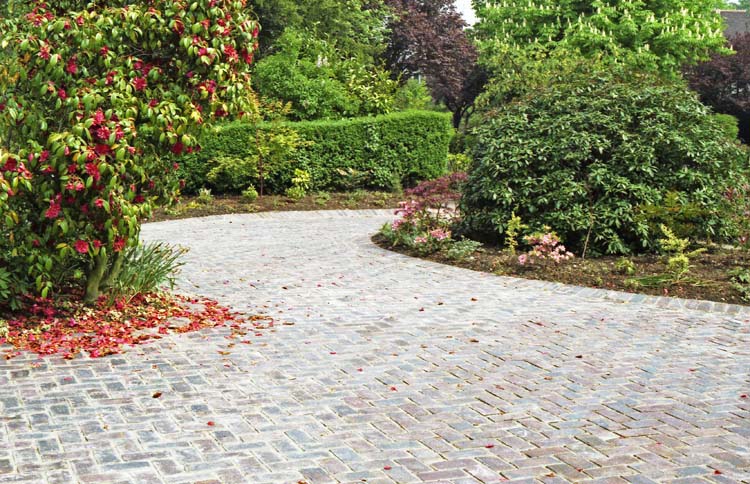
This beautiful path leads all the way around the garden, making it a fabulous way to explore the differing views created.

This scented path uses camomile planted within the ‘p-shingle’.
We used old railway sleepers and camomile to create this pathway, the camomile grows and covers the widened joints. When you walk on the camomile a lovely scent rises up.

A more formal gravel path – this is a white limestone and approximately 4ft 6 inch wide – just wide enough for two people to stroll (promenade) around together
Here the path is dressed in graded white limestone, this creates a much more formal garden for the client.
The next is designed in a series of straight lines using a brick module.

Here a zig-zag brick path leads from one section of the garden to another Using stock bricks that compliment the house colours is a good way to ‘link’ a garden design to a house. Walking on a larger sized clean gravel, is both fun due to the noise and a safety feature as you can hear someone or something approaching.

Here we used a larger stone size to add that lovely crunching sound as you walk on the path 
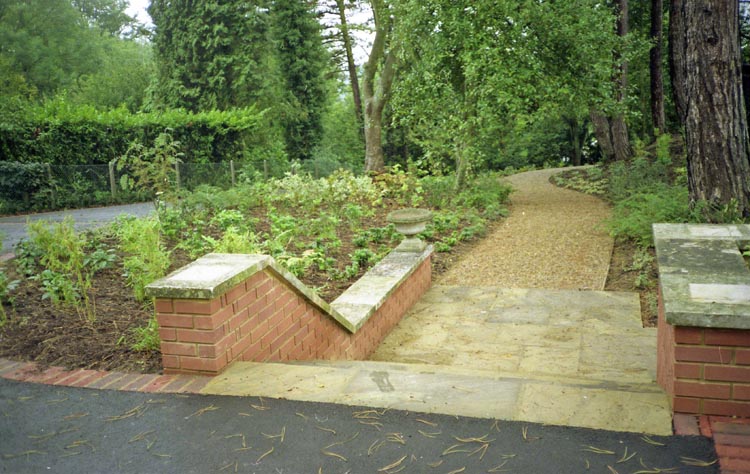
Natural random rectangular stone leading to a bound gravel pathway.
Perhaps the most expensive form of path, the steps are laid in natural random rectangular stone, which is expensive to purchase and time consuming to lay..

Natural stone steps It was a hot day when they completed these steps….

Probably the best material for steps To finish with some of my favorite materials. I’ve always tried to use natural materials on projects as the colour does not fade with time, they are often long lasting – if laid correctly. They always look soft and blend in so well with the surroundings..but natural comes with a significant cost increase..

A quick word about patios, if you are using the patio for entertaining a normal table with four chairs requires an area of approximately 10ft 6 ins ( 3m) x 10ft 6 ins (3m) to accommodate the table and chairs.

Laying small unit sett paving of almost random size in a radiating pattern requires skill and patience…. Do send us a comment or a request
Views: 63
-
When you really put your foot in it !

When you design and build with a number of highly skilled teams, you often can only see a client in the early evening when they come home from work.
This particular evening it was getting late around 8pm, I was a tad tired from driving perhaps 140 miles that day, and wanted to get home.
The client a Brazilian banker, loved detail.. I mean he kept a little book, with jottings in ( it was way more detailed than my site notes – I only kept up because I took pictures of everything).
This particular night we were looking at his pool – not the one in the picture ( I used that as an example) No this pool was an in ground 25 year old pool with a cover, never been emptied and he wanted the pool taken out. Removing 25 year old reinforced concrete pools is hard work, we used to get two a year on average, due to the huge cost of keeping the water warm enough to enjoy a swim.
So this night I’m dressed in a suit, walking next to the client when suddenly, my feet are sort of floating, I had missed the dogleg step area jutting out of the pool and was now attempting to tread water on top of a very old fabric cover, which was tearing fast as I scrambled to get out of this disgusting green smelly liquid..
The client saw what had happened, and ran off to the kitchen… I thought to find perhaps a towel.. but alas no, when I managed to get out somewhat bedraggled, on reaching the back door I hesitated to enter as I was dripping this green smelly liquid everywhere.. I heard ” Darling come quickly with a camera..Mr Coope has fallen in the pool”.. this brought not only his wife but the children as well…who took a few pictures while I sheepishly tried to leave.
The 40 minute drive home was filled with the aroma of a swimming pool that hadn’t been touched in 5 years and the thoughts of what my kids might say, when I finally arrived home !
Views: 34
-
Green Walls

We built our first green wall in 1984, in rural Kent, not far from a famous racing circuit. The wall was built on a chalk escarpment so to make it more interesting we added plants into the wall, the wall was fully structural, quick and easy to build. As you can see quite a wide variety of plants was used to see what would develop best in this situation.
Views: 62
-
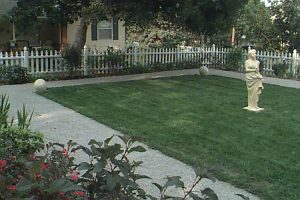
Soft natural garden area

Using natural materials almost always creates a much softer and pleasing finish, here the gravel and granite setts, with the planting make a superb xeriscape garden, requiring very little aftercare.
Views: 34
-
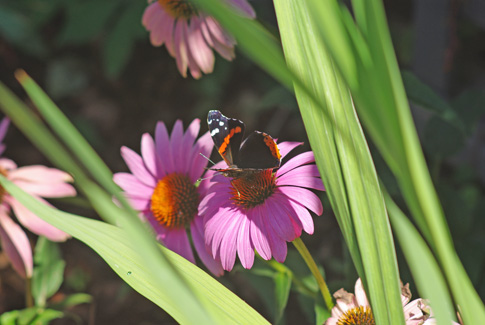
Tiger Rhus

Don’t you think there is something incredibly relaxing about looking at soft architectural plants in the right setting ?
Views: 36
-
Unusual Flower Competition

Some years ago, while attending a Hockey competition, in I believe Alkmaar, we came across a collection of floral displays in gardens, this one looked amazing !
Views: 98
-
and now for something completely different …..
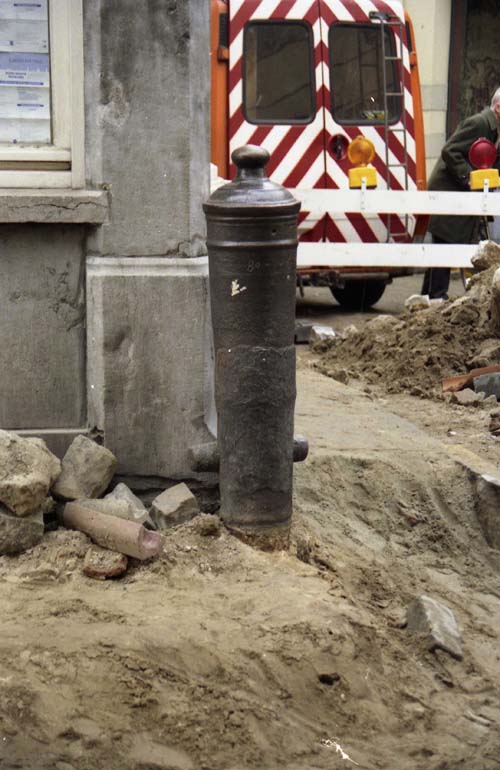
I’ve always kept a camera handy, these days it’s much easier with smartphones etc., A few years ago whilst snooping around in the back streets of Amsterdam, we spotted some roadworks, being a sucker for looking at how others do their work we took a look… never expecting to see that the ‘Cannon Bollard’ really was an old cannon !
Views: 136
-
Bound Gravel Drive

This beautiful bound gravel driveway, is actually the result of some serious engineering, the house was built over an old pond and had to have deep pile foundations. To ensure that this driveway stood up to constant use, it was constructed with a geofabric,then limestone subbase, followed by a base macadam, which was then coated with two layers of fibredec ( a combination of chopped fibreglass/gravel and tar). This creates a water bound, long lasting gravel surface that doesn’t shift with wear.
We added a stock brick edge for visual appearance and to prevent the drive from breaking away should a vehicle run off the edge.The timing for this work had to be between Spring and Summer as the binding agents only work at temperatures above 60f.
Views: 146