-
An amusing moment reviewing a Roof Garden
A good few years ago we were asked to design and build a roof garden on an office roof.
There are a few extra considerations needed when doing this.
All roofs will have a weight restriction – this includes a snow loading and a people loading
Access is severely restricted unless a tower crane is still on site, when it’s the crane lifting ability and movement.
Wind levels play a part with plants survival, and also with ‘lifting’ light weight materials
Irrigation is essential – as to is adequate drainage and roof waterproofing
Finally ongoing site safety – railings, balconies , restricted access to the parapet.
On this occasion the roof had been completed, we had even received an award for the design and construction.

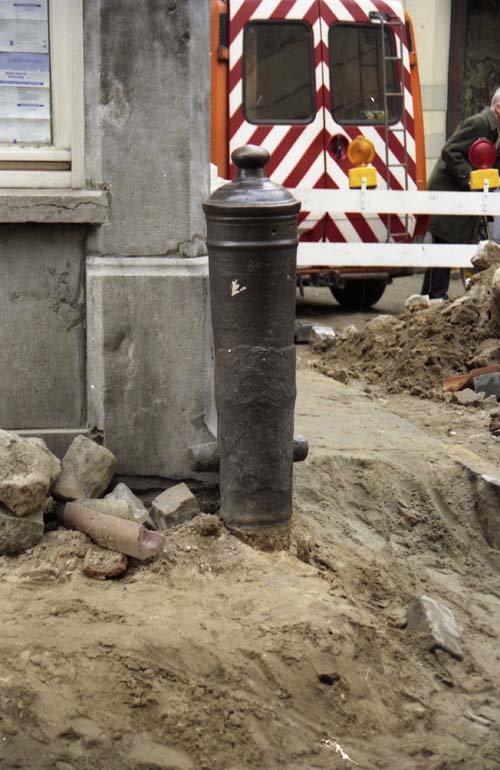
Rock faced planter 
I have always liked this one..
We were commissioned to Design and Build a roof garden, to comply with a local planning condition.
So we utilised artificial rocks made from GRP – we took moulds of actual rock faces and pieced them together to form a sealed planter – First picture
Then we joined these together added compost and plants …. the result an award winning roof garden..
There was a funny moment when a visiting Japanese manager of the company we were working for, came up to me one evening while I was checking the summer planting one year.He bowed formally ( the Japanese are so polite), any way after bowing he tapped on the rock and said ” Ah Rock “
I , with a slight smile, bowed and tapped the rock and and said “No Plastic” !!To which he looked puzzled and then smiled ,then saw the humour in the situation and roared with laughter… we kept the contract for many more years !!

Super light weight planters Views: 223
-
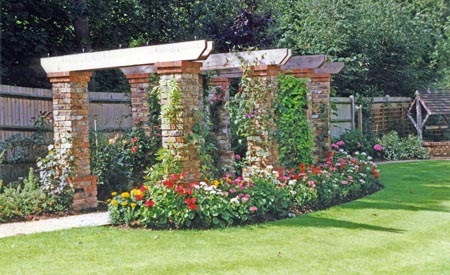
Green Walls

We built our first green wall in 1984, in rural Kent, not far from a famous racing circuit. The wall was built on a chalk escarpment so to make it more interesting we added plants into the wall, the wall was fully structural, quick and easy to build. As you can see quite a wide variety of plants was used to see what would develop best in this situation.
Views: 59
-
Ground Preparation

It seems that Spring or is it Summer has finally arrived to the MidWest ?
It’s at times like these when one misses being in England with it’s very much milder climate, although their winter was a tad wetter than normal ( I hear wetter than the past 200 years !).
So back to the MidWest, the bunnies are hopping around, the snakes are emerging, grass has turned green, buds are bursting and flowers are appearing, hardy folks are out and about in their yards, starting to tend the vegetable gardens in ernest.
With that in mind I thought it might be an idea to talk a little about the various methods to use to prepare ground for planting.
Easy Way :
The easiest way to prepare ground is to first cut down any vegetation to as close to the ground as possible – rotary lawn mowers are good for this, so long as you have walked over the ground and removed any large stones, branches or other debris, it also helps if the found is reasonable flat.
Next all that you need to do is to cover the area to plant in a thick coating of newspapers, then cover these with reusable landscape fabric and secure in place.
It takes about 4 – 6 weeks to clear all the growth beneath, but when you do lift off the landscape fabric ( carefully as you can keep this for future use) and then removed the newspaper you should find bare soil beneath. Simply replace the landscape fabric and plant through this to complete you project.
Harder Method :
Cut down the growth on the area – usually with a rotary lawn mower ( do check for objects first).
Now for the fun part, stripping off the growth, this can be a strenuous operation if you use say a spade to ‘chip’ the grass and weeds off, alternatively you can use a rototiller and take a quick romp across the hard ground until a fine tilth is established, of course you have just spread a kazillion weed seeds as you do this. If the ground really is ‘too hard’ it helps to soak the area with water the day before.
Now all you need to do is to rake to an even level – do make sure that the ground slopes away from buildings, as when it rains you don’t want the ground to become waterlogged or allow water to accumulate near walls or on paths etc.,
Finally you can place and secure the landscape fabric, and complete the planting of your project.

Planting :
The planting technique is basically the same for both techniques :-
- Water thoroughly all plants to be planted.
-
Keep plants in shady position until planting.
-
Cut a 6 inch ‘x’ in the landscape fabric in the desired planting position
-
Dig a hole approximately 50% larger all-round than the plant pot.
-
Keep this soil nearby.
-
Add a small amount of planting compost to the base of the pit, together with fertilizer and if you have it a corn based super absorbent.
-
Mix these materials together and add some water until you have a ‘porridge’ or as ‘she’ who must be obeyed would say a ‘mud pie’
-
Select plant, tap edge of container to facilitate removal of pot, and carefully place in pit.
-
Carefully backfill soil around plant and firm into position.
-
Fold back landscape fabric carefully to the stem of the plant.
-
Apply approximately 2-3 inches of mulch ( keep at least 2 inches away from plant stems)
-
Water thoroughly, and again every other day for the first two weeks.
Views: 76
-
We’re ready to record our radio show..!

We would really like to hear what you think about our program, and to ask you what you would like to hear on the show, or even be interviewed about any of the topics we are planning to present.
Here’s a typical weeks content:
The show is intended for the homeowner, with input from homeowners & experts around the world.
Discussing Edibles, Vegetables and Herbs, what are the easiest to start with, where & how should I grow them.
An interview with a homeowner that grows veggies and herbs interspersed within flower borders – growing peppers, rosemary, parsley, beans,cabbage, lettuces, tomatoes, etc., are quite easy,
Amusing anecdotes from some 40 years of landscaping gardens & commercial sites across the globe.
Interviewing a small organic vegetable farmer in the MidWest, what they are growing ,how they get to market…
Around the world trends in growing vegetables & herbs from our colleagues abroad, looking at for example – Allotments in England, Balcony raised beds in Europe,

The next week will be:
Choosing the right plant – how to plant, prune, and maintain flower beds and plant containers.
Interviewing a sustainable garden designer in the USA – how to save water, prepare ground, aftercare, etc.,
More anecdotes from around the globe.
Trends in Playgrounds, Roof Gardens, Paving, Parks, Grass areas from around the world..
If you have a question you would like ask, please send us an email with the question we will try and answer questions each week, we may even call you ! We will also send you details of where you can hear the program.
As the program will be on internet radio, it will be possible to record directly from the web, enabling you to play back when its best for you.
Error: Contact form not found.
Views: 42
-
Roof Gardens
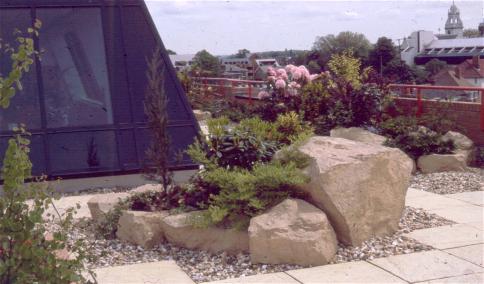
Some years ago we started designing and building roof gardens, in those days specialised materials were not too plentiful, so invariably we ended up inventing our own solutions. This award winning project dates back to 1984.
Here’s how we did this :

Specialised planter box Each plant grouping is planted inside a GRP container that has artificial rock sides, the larger rocks are free standing, the containers are filled with planting compost. The paving is laid on spreader pads, and the gravel is in free draining grids on spreader pads. This means the only variable is the snow loading.
Well apart from a particularly violent storm , ok, it was a hurricane in 1987 which lifted one of the larger rocks off the roof and blew it off the four storey roof into the Kingston upon Thames marker square. It was easy enough to recover, but being so large it wouldn’t fit in the building elevators so we had to haul it up the outside of the building to reposition it.
Views: 37
-
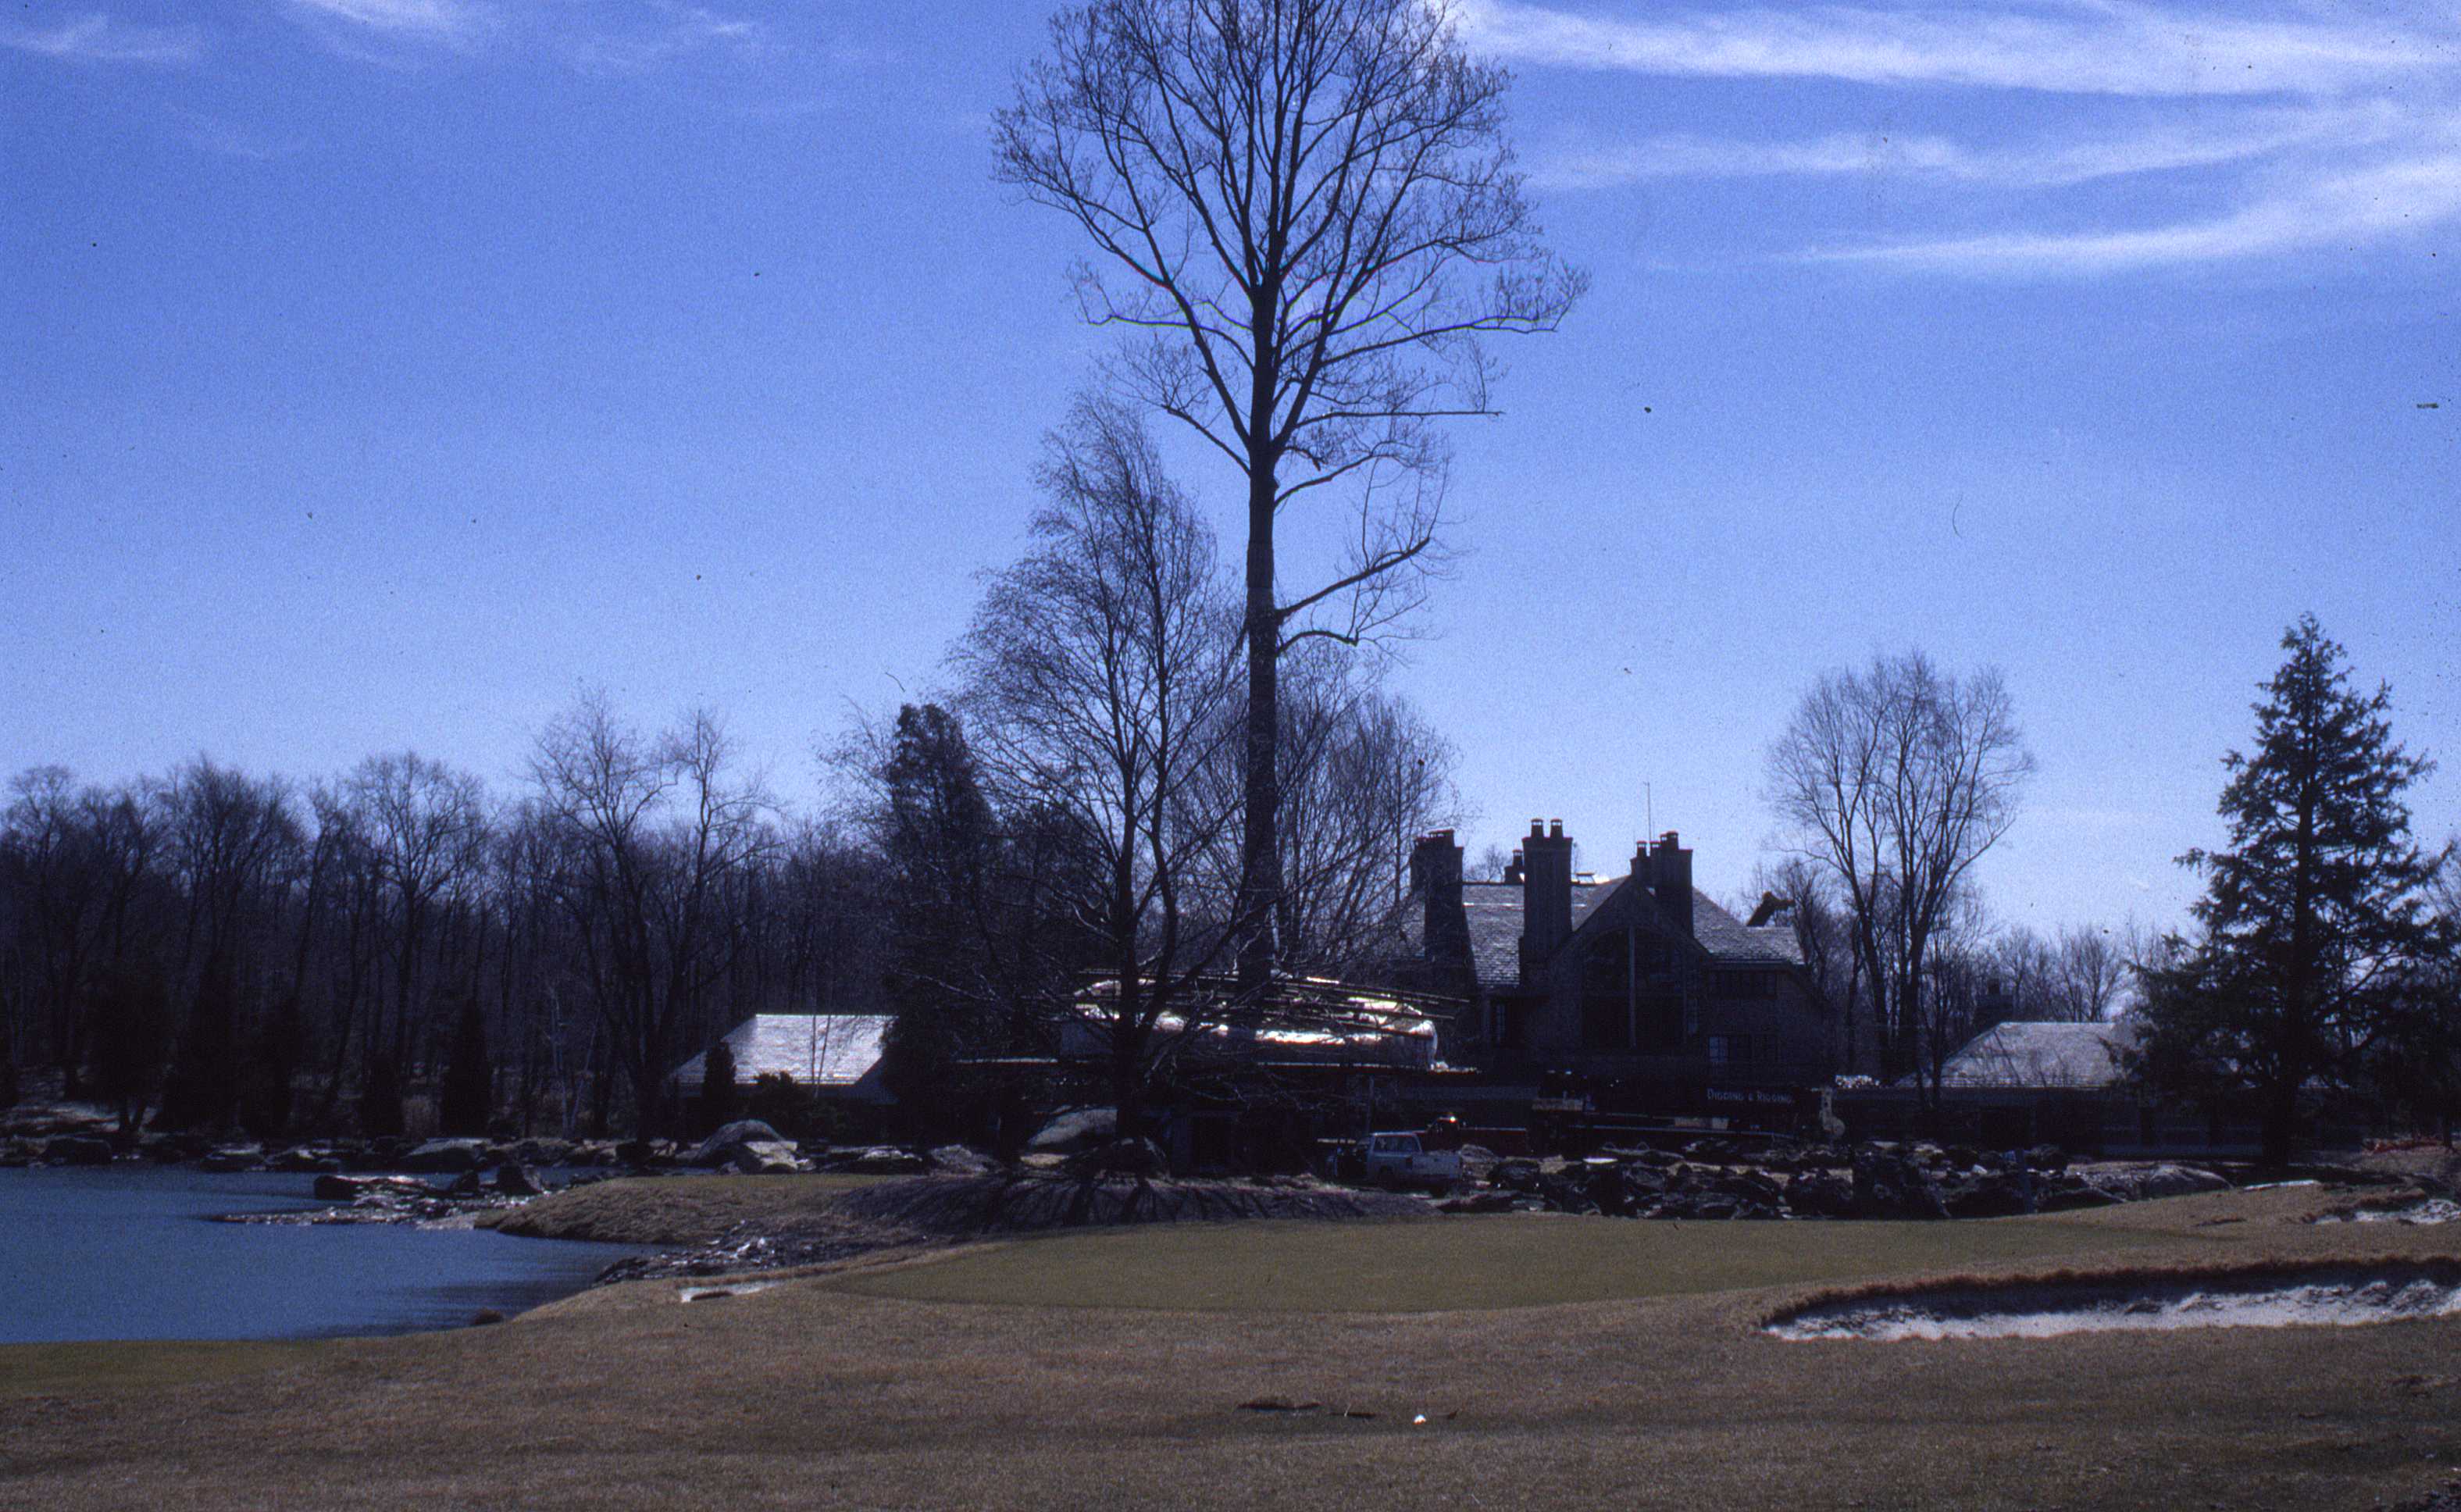
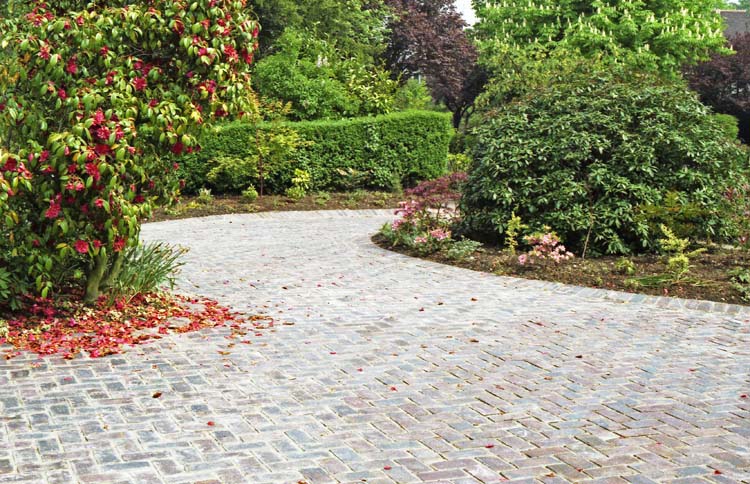
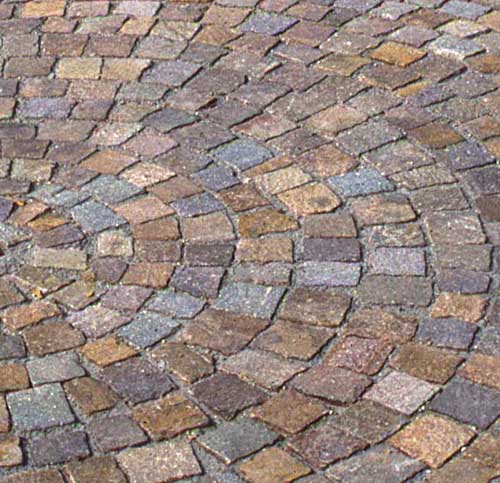
Bound Gravel Drive

This beautiful bound gravel driveway, is actually the result of some serious engineering, the house was built over an old pond and had to have deep pile foundations. To ensure that this driveway stood up to constant use, it was constructed with a geofabric,then limestone subbase, followed by a base macadam, which was then coated with two layers of fibredec ( a combination of chopped fibreglass/gravel and tar). This creates a water bound, long lasting gravel surface that doesn’t shift with wear.
We added a stock brick edge for visual appearance and to prevent the drive from breaking away should a vehicle run off the edge.The timing for this work had to be between Spring and Summer as the binding agents only work at temperatures above 60f.
Views: 146